


Office Chair Assembly Mistakes: How to Avoid Creaks and Wobbles
 ErgoHuman Staff17 July 20265 Mins read
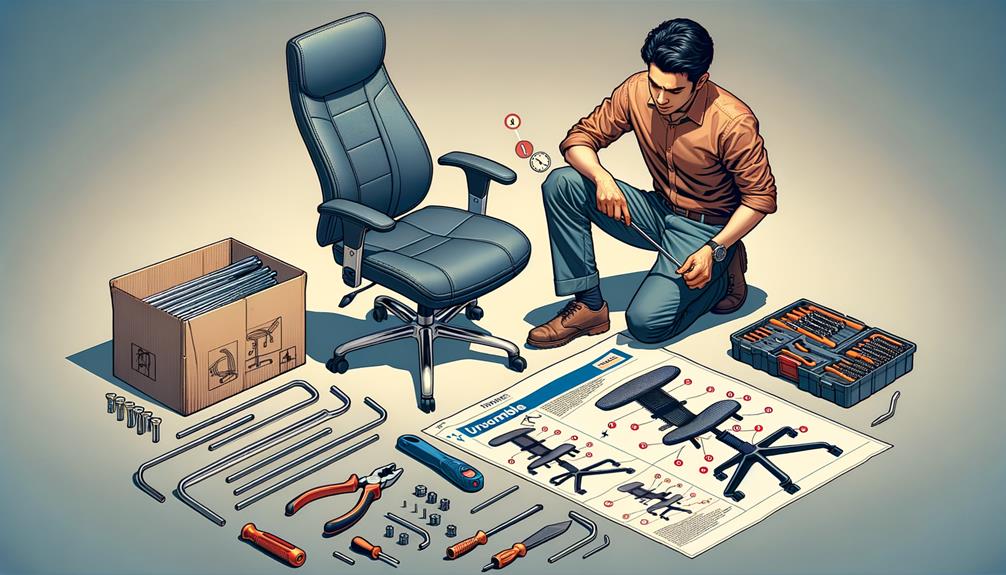
A brand new ergonomic chair should feel solid, quiet, and stable from the very first sit. Yet a surprising number of creaks, wobbles, and premature mechanical issues can be traced back not to a faulty chair, but to how it was assembled in the first place. Small mistakes made during setup, an unevenly tightened bolt here, a rushed connection there, often go unnoticed at first, only to show up weeks later as an annoying squeak or an unsettling wobble underneath you. For step-by-step guidance specific to your model, our Ergohuman assembly instructions remain the most reliable reference, and it’s worth reviewing before you begin.
This guide covers the most common assembly mistakes people make when putting together an office chair, why they cause the problems they do, and how to avoid them so your chair performs the way it was designed to from day one.
Why Assembly Mistakes Cause Long-Term Problems
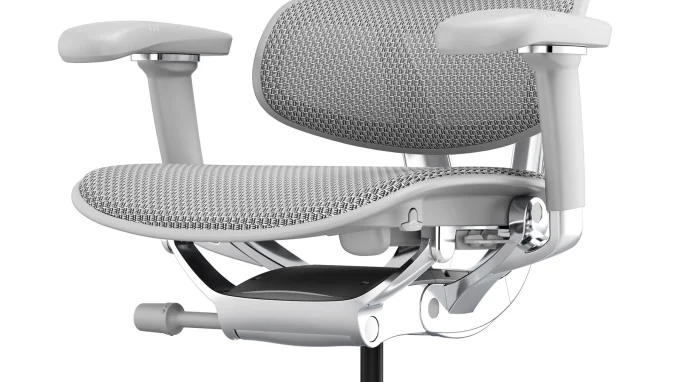
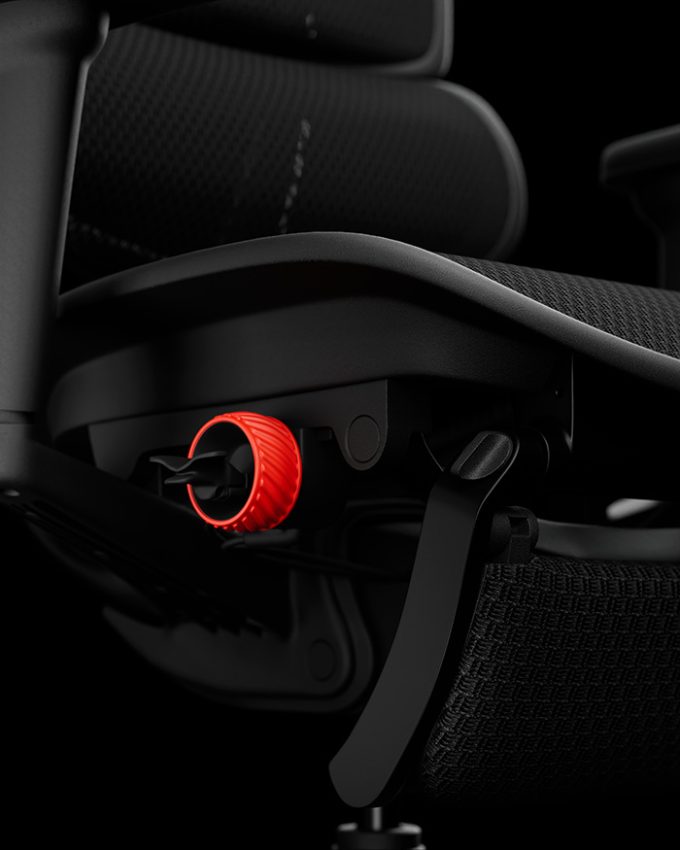
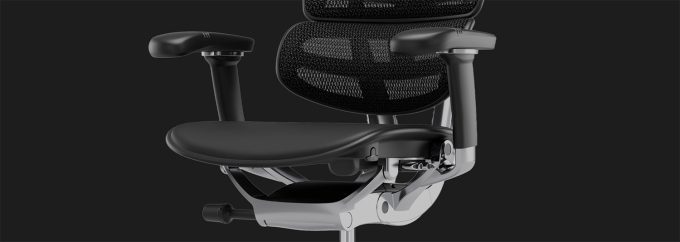
Office chairs are precision-engineered products, particularly ergonomic models with multiple moving parts like synchro-tilt mechanisms, adjustable lumbar systems, and multi-directional armrests. Every component is designed to fit and tighten in a specific way, and even small deviations from the correct process can throw off how the chair performs.
Unlike flat-pack furniture where a slightly loose screw might just mean a bit of wobble, office chair mechanisms rely on precise tension and alignment to function safely and smoothly. A poorly assembled chair doesn’t just creak, it can wear unevenly, place unnecessary strain on the gas lift and tilt mechanism, and shorten the working life of components that would otherwise last for years.
The Most Common Assembly Mistakes
Rushing the Process Without Reading the Instructions First
It’s tempting to skip straight to building once the parts are out of the box, but ergonomic chairs often have a specific assembly order that isn’t always intuitive. Steps done out of sequence, such as attaching armrests before the seat mechanism is properly secured, can make later steps harder and increase the risk of misalignment. Taking five minutes to review the assembly instructions before starting saves considerably more time than troubleshooting a wobble afterward.
Not Tightening Bolts Evenly
A common mistake is fully tightening one bolt before moving to the next, rather than tightening all bolts gradually and evenly in stages. This uneven approach can pull the frame slightly out of alignment, leading to a chair that looks assembled correctly but wobbles or creaks under weight.
Overtightening Fixings
While a loose bolt causes wobbling, an overtightened one can strip the thread, crack plastic housing components, or place uneven pressure on the frame. Fixings should be firm and secure, not forced beyond the resistance the component is designed to handle.
Attaching the Base Before Confirming Castor Direction
Castors are often directional, designed to roll smoothly one way and lock or resist in another. Installing them without checking the correct orientation can lead to a chair that feels unstable or rolls unpredictably on certain flooring types.
Forcing the Seat Onto the Gas Lift Cylinder
The seat plate should slot onto the gas lift cylinder with firm, even pressure, not repeated forceful hits from random angles. Misaligned force during this step is a common cause of long-term wobble at the base of the seat.
Skipping the Final Stability Check
Many people finish the visible assembly steps and immediately sit down without checking that all components are evenly secured. A quick stability check, gently rocking the chair and listening for movement, catches most assembly issues before they become a daily annoyance.
Ignoring Manufacturer-Specific Steps
Generic online assembly tips don’t always apply to every chair model. Because mechanisms vary between ranges, following manufacturer-specific guidance, such as our own Ergohuman assembly instructions, ensures you’re following the exact sequence and torque recommendations designed for your specific chair.
Why Creaking Often Starts With Assembly, Not the Chair Itself
Creaking is one of the most common complaints people raise about office chairs, and it’s frequently misattributed to poor chair quality when the root cause is actually how it was put together. A few assembly-related causes of creaking include:
- Bolts tightened unevenly, creating small gaps that shift and rub under body weight
- Plastic components forced together at slightly the wrong angle, causing friction points that weren’t part of the original design
- Missing washers or spacers, which are sometimes accidentally left out during assembly and cause metal-on-metal contact
- Armrests attached slightly askew, creating tension that translates into noise during movement
In many cases, a creaking chair can be resolved simply by disassembling the affected section and reassembling it correctly, rather than assuming the chair itself is faulty.
Why Wobbling Usually Points to the Base or Seat Connection
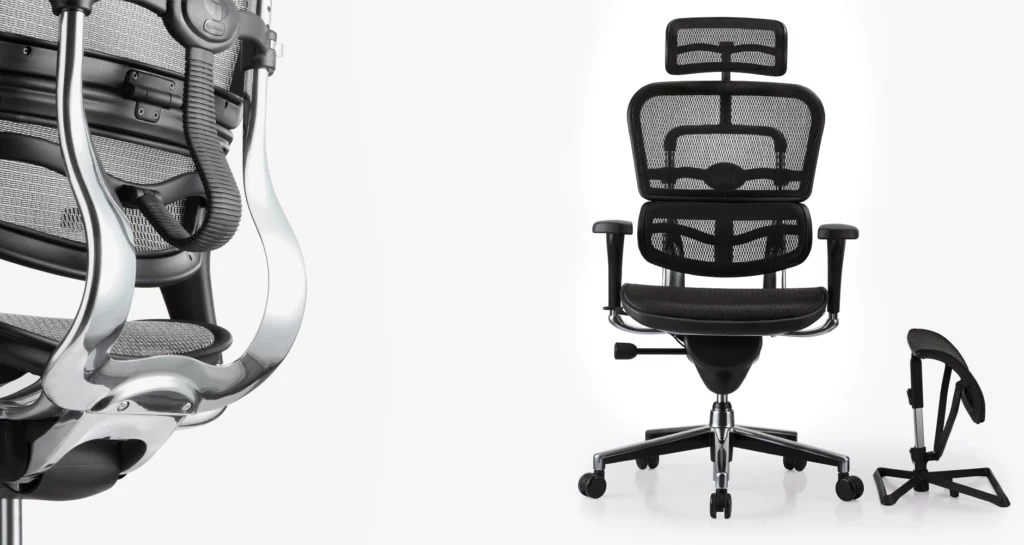
A wobbling chair is almost always related to one of two connection points: where the base meets the gas lift cylinder, or where the seat plate meets the top of the cylinder. Common causes include:
- The seat plate not being fully seated onto the cylinder during initial assembly
- Castors not fully clicked into place within the base
- A base that wasn’t assembled with even pressure across all leg points
Checking these two connection points first is usually the fastest way to diagnose and resolve a wobble issue.
How to Properly Check Your Chair After Assembly
Once assembly is complete, a short verification process helps confirm everything is secure before daily use:
- Gently rock the seat from side to side while seated, checking for any looseness at the base
- Test the height adjustment lever to confirm smooth, controlled movement without sudden drops
- Check the tilt mechanism by leaning back slightly and confirming even, controlled resistance
- Move each armrest through its full adjustment range, checking for any looseness or uneven movement
- Listen for any creaking during normal movement, and identify roughly where the sound is coming from if present
Catching these issues early, before the chair sees weeks of daily use, makes any necessary adjustments far easier to identify and correct.
Why Following Manufacturer Instructions Matters More Than General Guides
Generic assembly tips found online can be a helpful starting point, but they’re no substitute for instructions written specifically for your chair’s mechanism, bolt pattern, and component design. Ergonomic chairs, in particular, often include specific torque guidance, assembly order, and alignment steps that vary meaningfully between brands and models.
For anyone assembling an Ergohuman chair, the official assembly instructions are the most reliable resource available, covering the correct sequence and connection points specific to each model in the range. Following this guidance from the outset is the simplest way to avoid the creaks and wobbles caused by improvised assembly steps.
What to Do if a Creak or Wobble Appears After Assembly
If you’ve already assembled your chair and noticed an issue, a few steps can help resolve it without needing to fully disassemble everything:
- Revisit the specific step in the official instructions related to the noise or movement you’re noticing
- Check that all visible bolts are evenly tightened, adjusting gradually rather than all at once
- Confirm castors are fully seated in the base rather than partially inserted
- If the issue persists, consider whether a specific component, such as a worn washer or spacer, may need replacing
For genuine replacement components, including washers, castors, and other small parts that can affect stability, our accessories range covers the parts most likely to need attention over time.
Final Thoughts
Most creaks and wobbles in office chairs trace back to small, avoidable mistakes made during assembly rather than genuine product faults. Taking the time to follow manufacturer-specific guidance, tightening fixings evenly, and running a quick stability check after setup goes a long way toward ensuring your chair performs exactly as it’s designed to, for years of daily use.
For step-by-step guidance built specifically for your chair, our Ergohuman assembly instructions remain the definitive resource to work from. Browse the full Ergohuman range to explore chairs engineered for long-term stability, or check our accessories page for any replacement parts you may need along the way.
Still hearing a creak or wobble you can’t resolve? Get in touch with our team for guidance on troubleshooting your specific chair model.

How to Adjust an Office Chair for Upper Back and Shoulder Tension
Upper back and shoulder tension is one of the most common complaints...
ErgoHuman Staff17 July 2026